Thursday, May 23, 2013

Kate Spade Inspired Canvas Tote Bag

When my coworker/friend suggested we do a craft day, I scoured pinterest trying to get inspired by others' diy projects. There were lots of cool things, but nothing practical for my lifestyle needs. When my friend suggested painting canvas bags, I knew this was perfect as I was looking for a cute large tote bag I could bring to the pool or the beach. I found this picture of Kate Spade's "South of the Border" canvas bon shopper, I knew this would be an easy DIY project. 

Kate Spade "South of the Border" Bon Shopper

We bought large canvas bags from Joann (3 for $11 after my 40% off coupon!). Before painting, I sketched out my design consisting of my favorite shave ice (as you call it in Hawaii) flavors and shave ice cones. I used fabric paints I already had to create the colors I needed, carefully blending colors to match the flavors. The best part about this design is that it's okay if the lettering is uneven and imperfect. It's supposed to be that way! I'm super pleased with the end result. What do you guys think?

My DIY version

Here are some other painted canvas bags that I think are totally DIY-able:

Pink striped ombre tote
Kate Spade bag: Could be done with letter stencils!
Here's a DIY: Kate Spade inspired tote


A bag revealing it's contents :)
Chevron and monogrammed bag

For the ambitious...
Watercolor floral tote
Diamond printed tote

Hopefully this will inspire someone to go paint crazy on a simple canvas bag! I think it would make a cute and inexpensive gift for mother's day or a friend's birthday...or as we found out, a fun craft project to do with a friend. Happy Thursday everyone! Yay, it's almost the weekend...although weekends are almost meaningless when you work in a hospital that sometimes requires you to to be at work at 6am on a Sunday. Just makes me appreciate "sleeping in" that much more. 

Thursday, February 28, 2013

Frankie's Raincoat

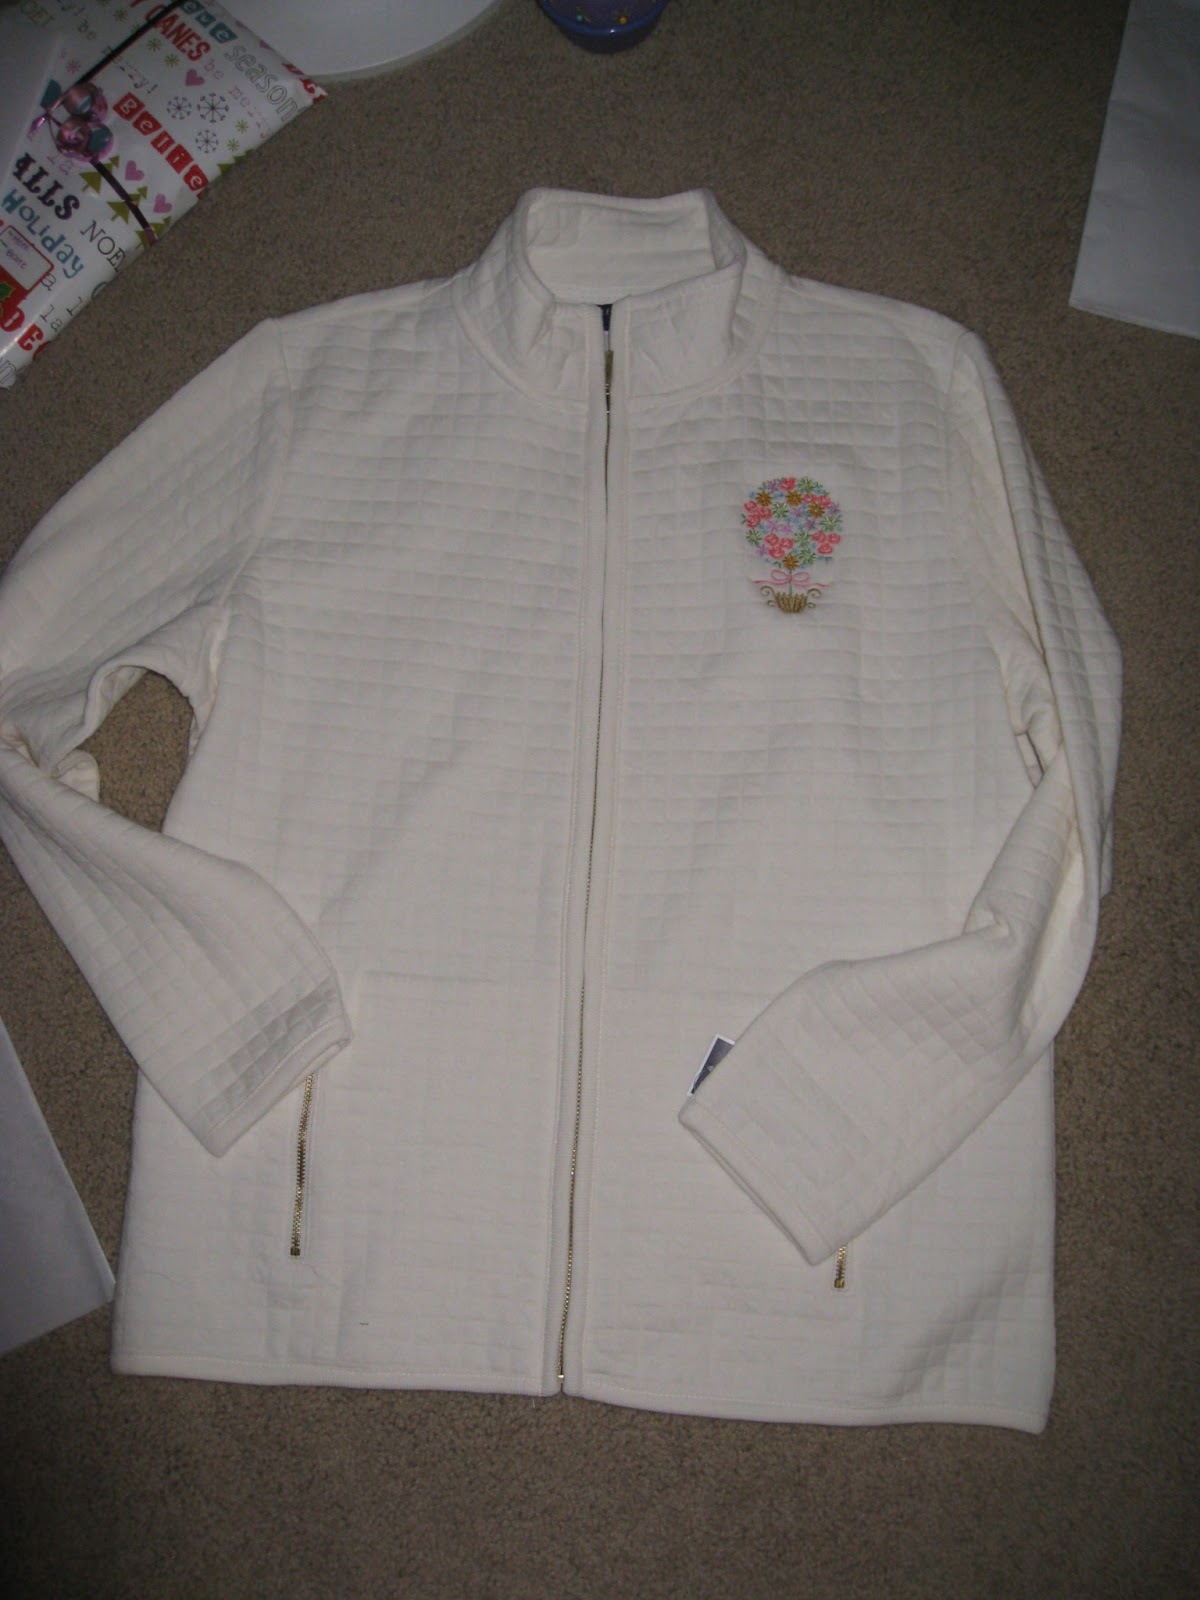
As promised a while ago, here's my tutorial for the raincoat I made Frankie (my dog) for Christmas. I made the raincoat using this juniors windbreaker vest I found at Goodwill. I saw it and knew it would be a perfect raincoat for Frankie, especially with the little pocket on the back...to store treats, poop baggies?! :) I knew I wanted to line his raincoat to keep his little body warm, so I chose a black and white plaid fleece from JoAnn Fabrics.


Body: First I laid one of Frankie's coats on the back of the vest. I traced around the body of the coat using a water-soluble marking pen and cut around it leaving a 1/2 inch border to accommodate a seam. Next, I cut out the fleece lining of the coat.


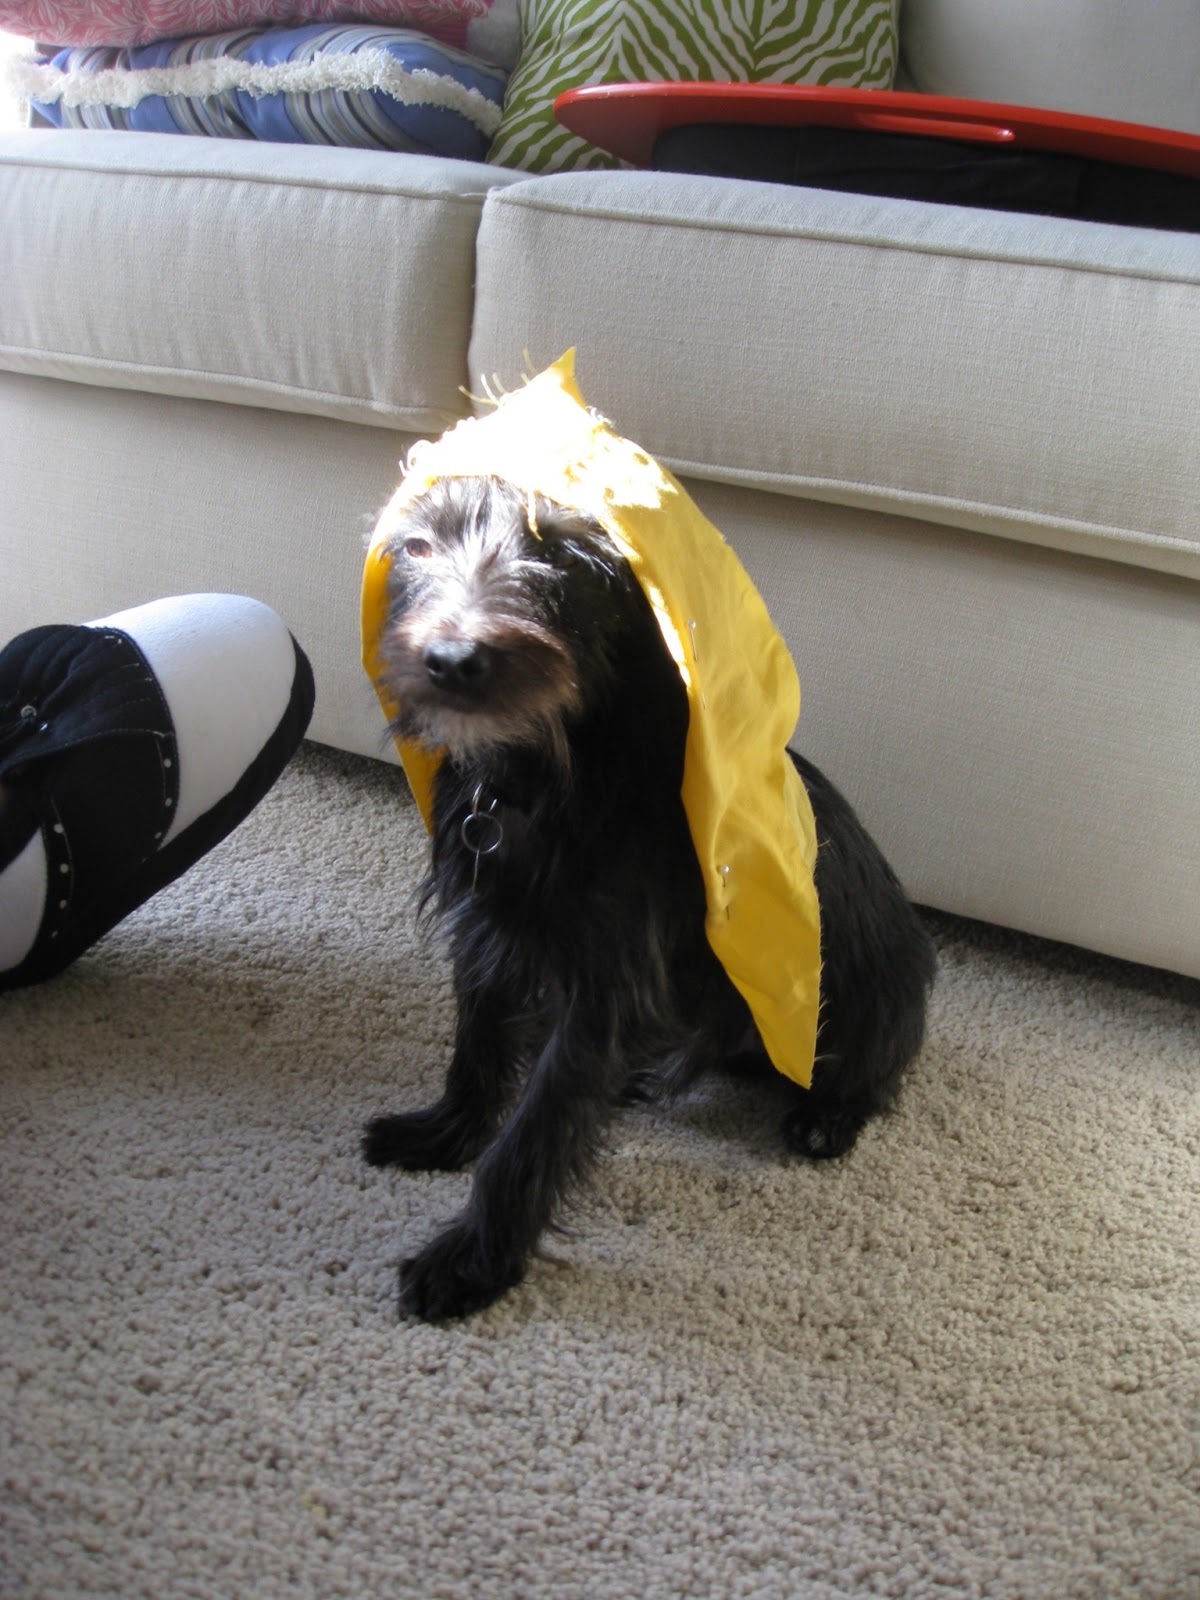
Hood: I trimmed off the existing hood from the remains of the vest and placed it on Frankie's head to figure out how much I had to trim off (Obviously he is enjoying this process. He pretty much sat there while Mommy folded and pinned his hood.) I made sure to leave 1 1/2 inch around the opening of the hood to allow for the seam later. I also put his green coat over the raincoat hood and drew a line where the hood should meet the coat. I cut 1/2 inch below the line I drew.


Keeping the hood folded in half, I cut out the fleece lining adding 3/8 inch to the rounded part of the hood. I also trimmed the opening part of the hood by 1 1/2 inch(not shown). I placed the right sides of the fleece together and sewed a 3/8 inch seam allowance along the rounded middle part of the hood. I then folded and pinned the edges of the hood opening down 1/2 inch and then over the fleece 1 inch (see second and third picture below). To secure, I top stitched close to the edge of the yellow fabric (where pins are placed in picture 3).


Velcro straps: I cut two rectangles each of the lining and raincoat material just 1" longer and wider than the straps on the green raincoat. I placed the right side of the yellow fabric to the right side of the fleece and sewed with a 1/2 inch seam allowance on 3 sides. After that I flipped them out and top stitched around the edges. I also sewed two strips of velcro to each strap (two to the yellow side, two to the plaid side)


Almost there! I pinned and sewed the hood and velcro straps to the yellow coat. Then I pinned the fleece lining to the coat right sides together, making sure the hood and straps are inside (Frankie photo-bombed this pic!). I sewed all around the coat with a 1/2 inch seam allowance, leaving a 6 inch opening at the bottom of the coat. 


I flipped the coat right side out through the opening and poked the corners with chopsticks. I top stitched all the way around the whole coat to create a more polished finish. I also added velcro to the neck closure and a button hole at the back of the neck for Frankie's leash. 


On Christmas day, Frankie got his new yellow raincoat and squeaky bunny. Luckily, he doesn't mind wearing clothes! We've had a few rainy days where this coat came in handy. It is seriously the most precious thing watching him waddle through the puddles in the raincoat I made him (If I only had a video!). I'm just glad he doesn't come back soaking and shivering after our walks in the rain. 


I hope this inspires someone to make a raincoat for their dog. There's something incredibly special about handmade gifts. You can use an existing garment like I did or you can make one from other fun fabrics. The options are really limitless (with hood, without hood, with fleece lining, with cotton lining, with pocket, etc). Whatever you decide to do, your pup will be the only one on the block rocking your personalized creation. :)

Friday, January 11, 2013

Crafty Updates

It's basically the middle of January and I'm finally getting back into blogging! Where have I been? Just recovering from my crazy work schedule and shopping/crafting/shipping gifts for the holidays. Here's a look at my projects from the last few months...

1. Fall/Winter Wreath: I made this wreath using a cheapy wreath from Goodwill and spruced (pun not intended!) it up with gold branches and ribbon from the Dollar Tree. Total cost was $6. With the lemons and apples, I think this wreath will also pass for spring or summer...maybe changing out the bow for a cute gingham print? 


2. Twinkies Cupcakes: Devastated that Twinkies were no more, I was inspired to make Twinkie cupcakes using this recipe. Friends who tried it agreed, they indeed did taste like real Twinkies! I'm definitely saving this in my recipe archives. Anyone know who bought the official recipe?


3. Cupcake Pin Cushions: A few months ago I went to a quilt and craft fair and found a pattern for these felt pin cushions. I made the one on my left for my mom (resembles Mary Engelbreit stuff, which she loves) and the one on the right for my grandma (she loves purple). Little did I know that Frankie (my dog) would be obsessed with the fake felt cherries and would frequently steal them when I wasn't looking. Luckily I was able to retrieve them from him. I was not so lucky with some of the small felt circles I cut earlier! When my mom and grandma opened their gifts on Christmas day, they decided that these would be too pretty to put pins in and instead will buy acrylic boxes to display them in (still not sure if I am happy about this...)


4. Embroidered sweaters: Not knowing what to give my grandmothers for Christmas, I found these Karen Scott waffle knit sweaters from Macy's and thought they did have a grandmotherly quality. They were pretty simple to begin with, so I decided it was time to break out the embroidery feature on my Brother SE400 sewing/embroidery machine. I chose the purple violet pattern for grandma #1 (the purple loving one) and the floral topiary pattern for grandma #2. I was impressed with the ease of the embroidery process. At times I just hit the go button and went to do some chores while my machine embroidered a particular color of the design. 


5. Christmas Card Picture:  In the spirit of the holidays, we got a pink flocked tree (yes, it's real!) and decorated our fireplace. Since we didn't have many ornaments, I bought some simple silver and white ornaments from the Target and the Dollar Tree. I also shoved some of our small stuffed animals in there just for fun. The "Holly" sign was actually part of a Hollywood sign I used for a formal a few years back (I couldn't think of any other holiday words that I could make with "Hollywood". Please let me know if you think of any, so I can use them next year!) The O is actually our clock I decked out in leftover silver, glittery snowflake ornaments. I hot-glued them, but discovered, they can easily be removed from the plastic clock! 


6. Frankie's Raincoat: This is Frankie in the raincoat I made him for Christmas. When I failed to find an affordable, fleece-lined, perfect-fit raincoat for Frankie, I took matters into my own hands and decided I would MAKE him a raincoat. I happened to find a women's hoodie vest with a pocket in the back and thought "this would be the perfect raincoat for Frankie!" I basically cut up the vest and used one of his existing coats (yes people, my dog is stylish and does have a coat wardrobe. I promise they are all functional...) as a template and voila, here he is sitting all pretty on Christmas day with his new squeaky bunny toy. After making this raincoat, I almost convinced myself that I could be a doggy fashion designer. Then I realized this probably would not be as profitable as my current job. Also, I probably would not be very successful unless I knew of more than two famous dogs (Currently, I can only think of Boo and Bo)


7. SF Ballet's Nutcracker: I realize this is not a craft project, but I do love the red and white tree in the back. We finally got around to seeing the San Francisco Ballet's Nutcracker Production. I've been dying to go for years, but could not afford the high ticket prices. We had seats in the dress circle which were significantly better (no binoculars required) than our second to the last row seats when we saw Swan Lake a few years back. I was really impressed by the whole show, especially the snow scene where the dancers literally were being snowed on! If you have never gone, please go if you have the opportunity to! However, I'd like to warn you in advance that there are a surprising number of little kids running around there (apparently some people are just super rich and can afford to pay hundreds for their toddlers to watch...errr climb seats...during the show). Being in the audience and watching the dancers made me realize how much I miss ballet and performing. I hope to start taking classes in the new year! 


8. Snowflake cupcakes: For my fellow co-workers who worked on Christmas eve and day, I made these Funfetti snowflake cupcakes. For the snowflakes, I piped vanilla Wilton's candy melts on to wax paper and let them harden in the fridge before placing them on top the cupcakes. I really liked how they turned out and will definitely try this technique again...maybe hearts for Valentine's day? 


Hope you liked my craft projects. Look for a doggy raincoat tutorial in the near future. I hope everyone enjoyed the holiday season. Have a happy new year and be inspired to craft away! :D